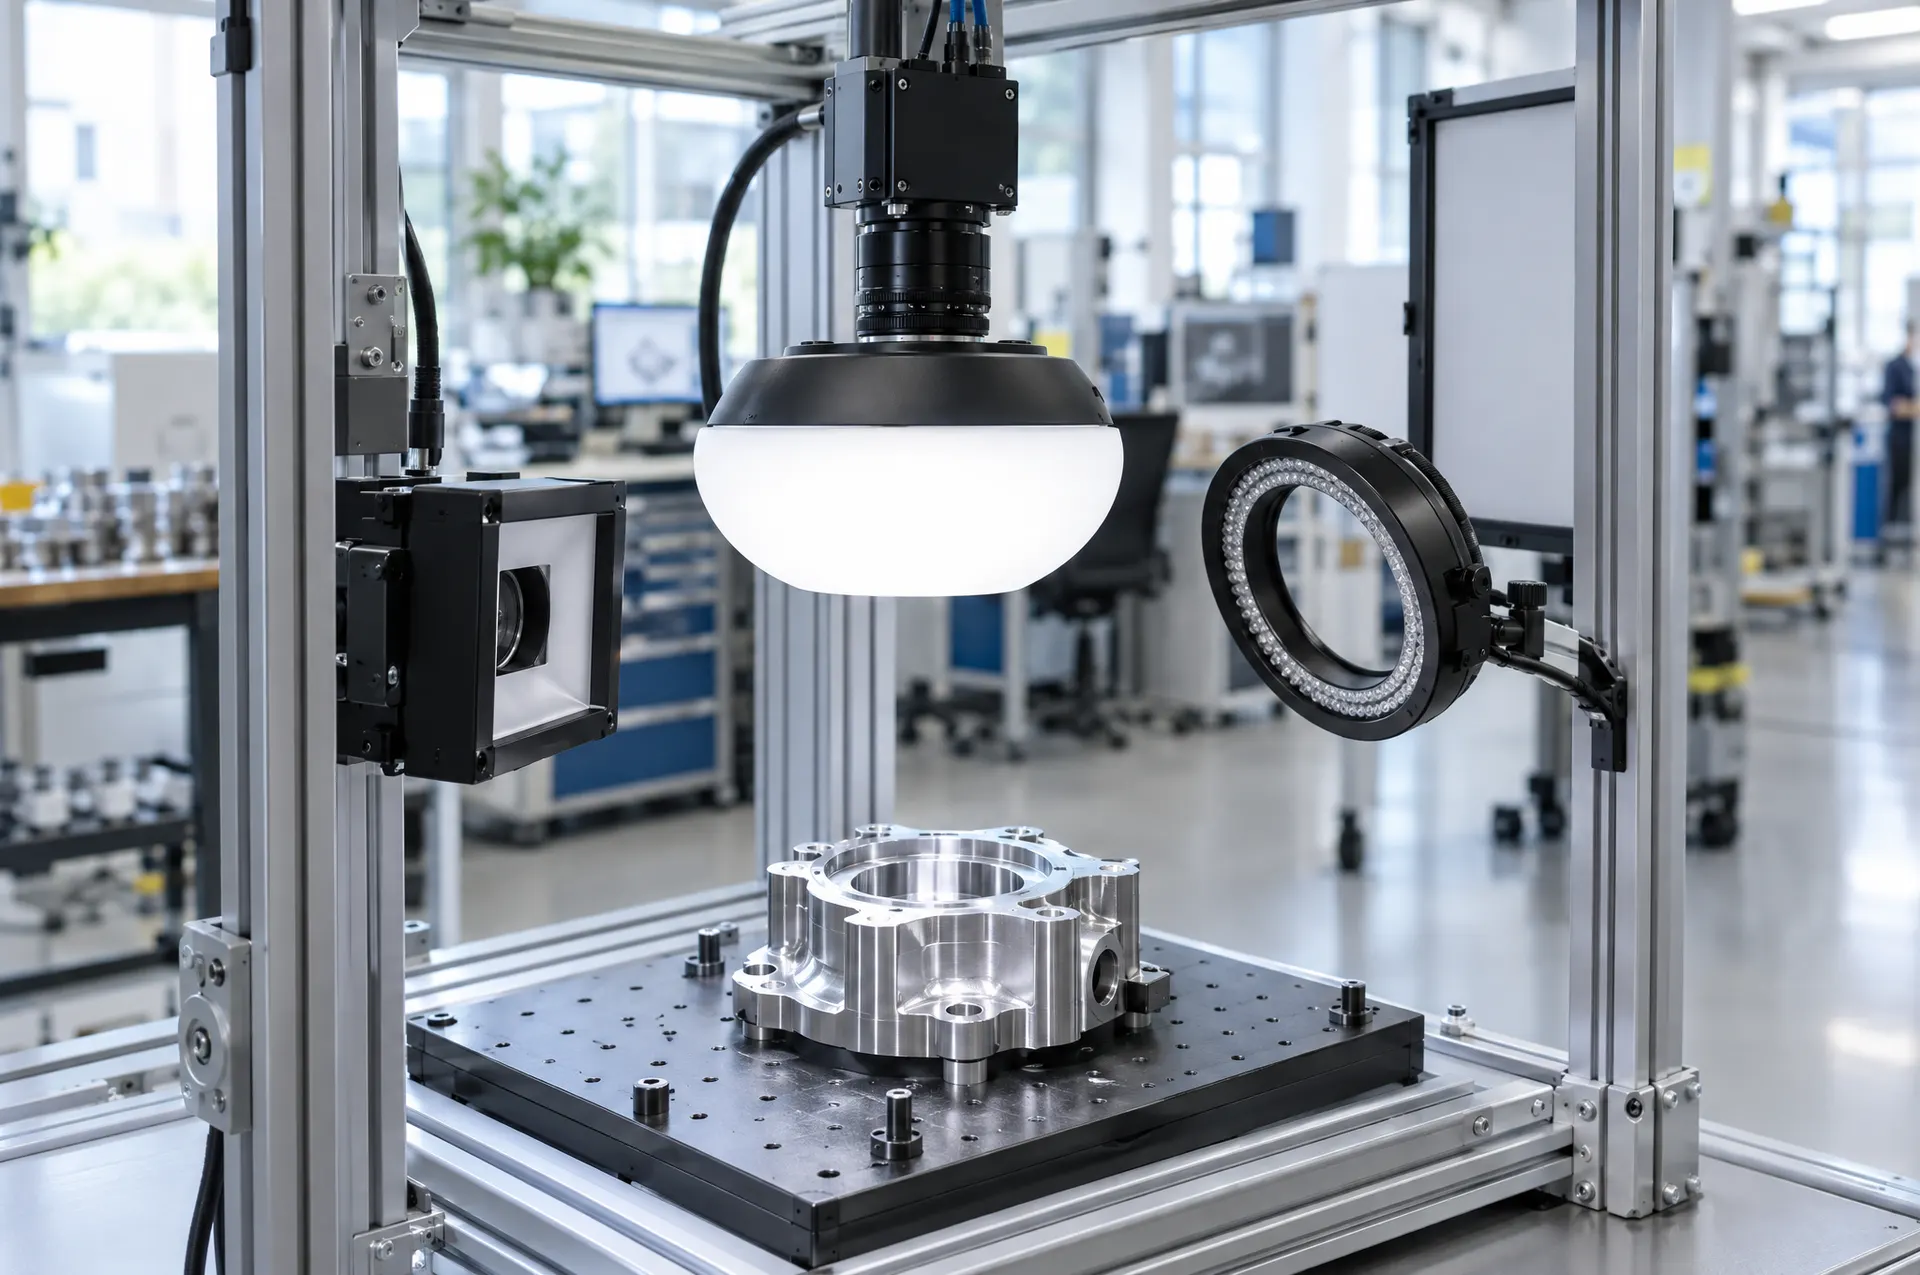
In machine vision, lighting decides whether a defect is visible in the image at all. Software and AI can only find differences that are in the image; if the light does not make a defect visible, even the best algorithm cannot find it. The right lighting makes the defect stand out and keeps the normal features of the product subdued. It is chosen according to the product surface and the defect, and verified by testing with samples.
Bright field and dark field
Lighting setups fall into two basic geometries:
- Bright field: Light reflects off the surface into the camera. A flat surface looks bright; defects that scatter light, such as scratches, holes and stains, look dark.
- Dark field: Light hits the surface at a very shallow angle and does not reflect from a flat surface into the camera. A flat surface looks dark; irregularities such as scratches, dents, bumps and embossed text scatter light into the camera and look bright.
Lighting types and where they are used
| Lighting | How it works | Suited to |
|---|---|---|
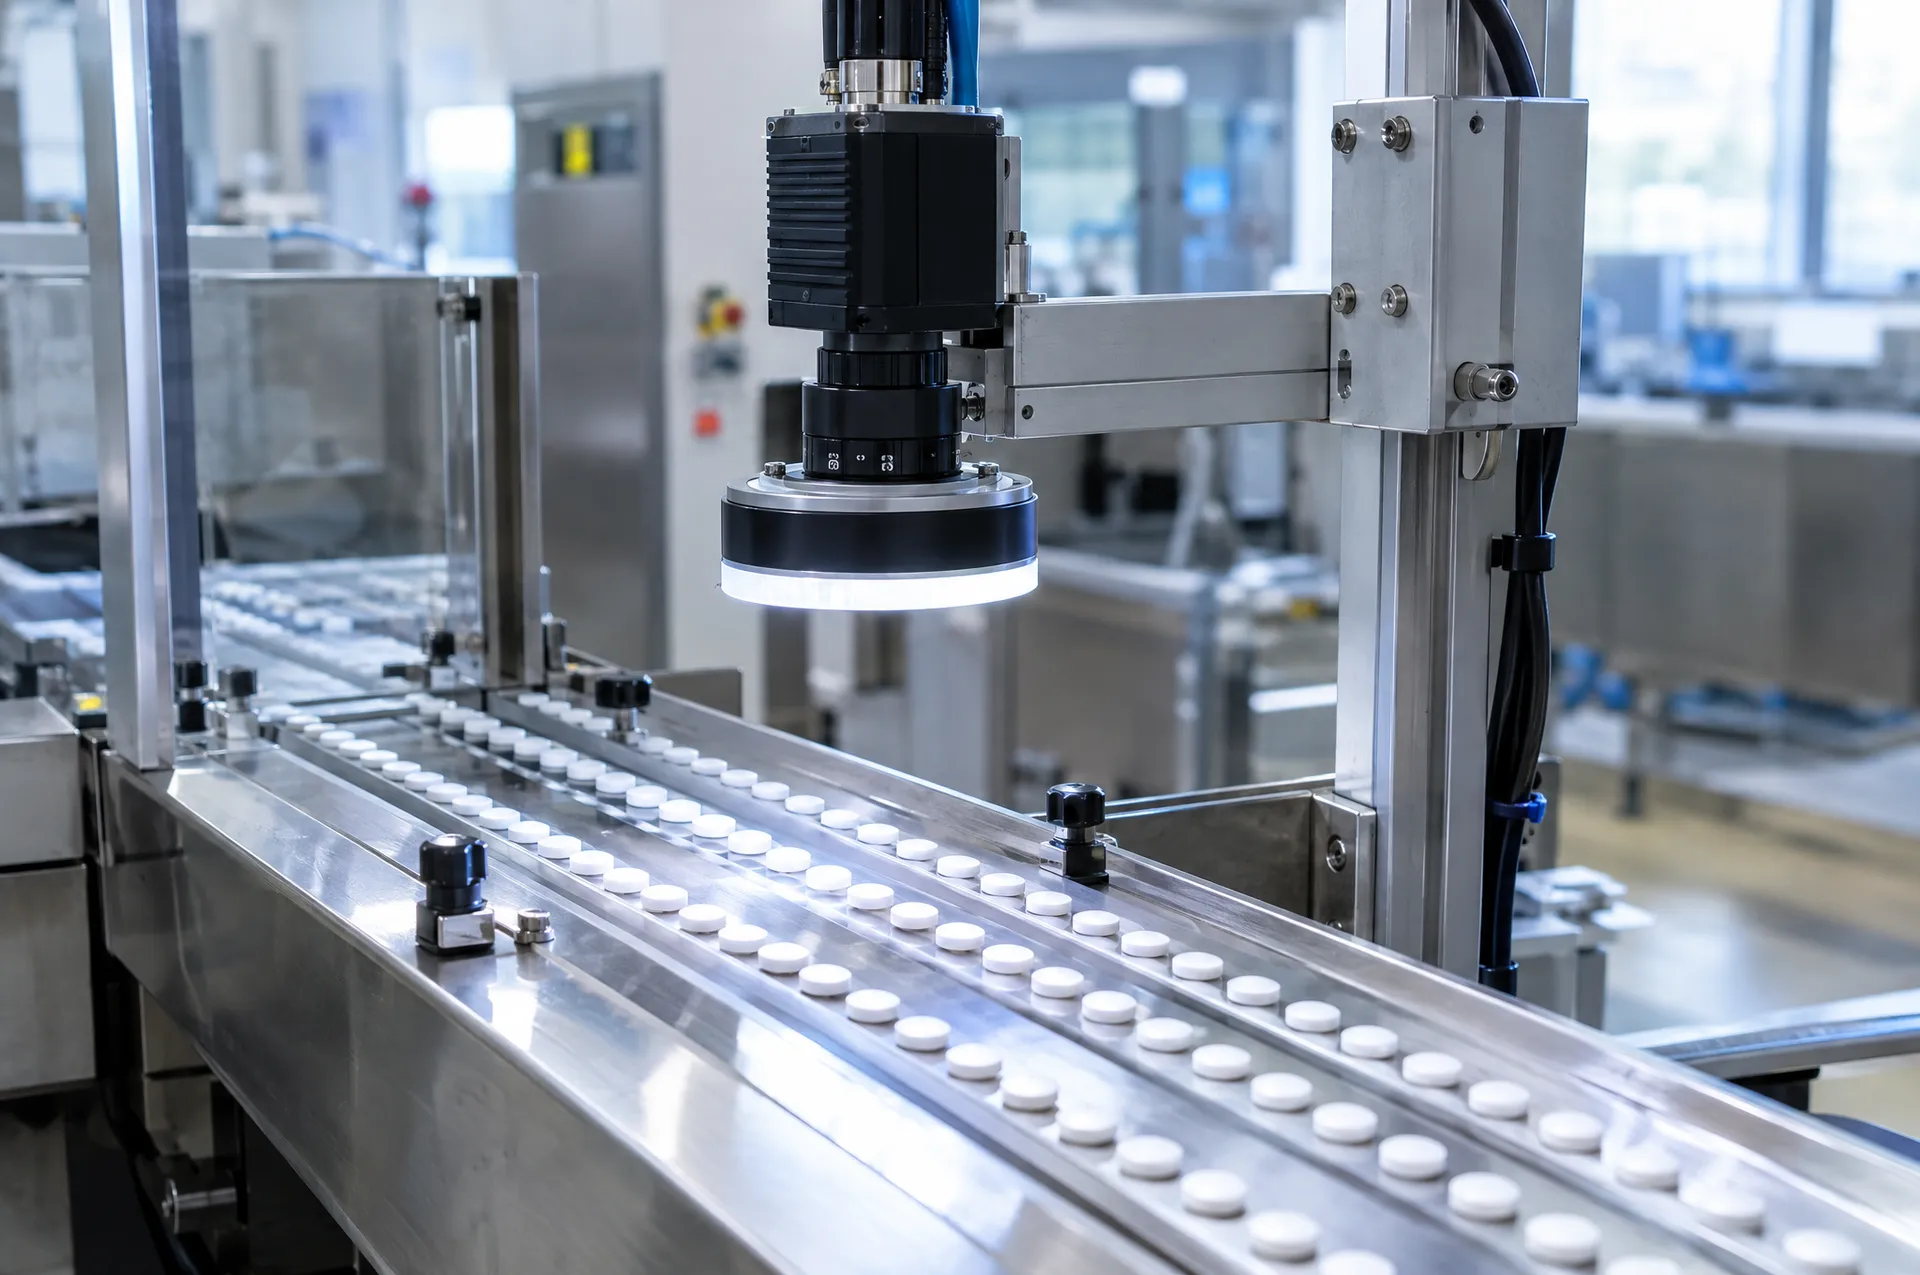
| Ring light | Lights the surface directly from around the camera | Matt surfaces, general imaging, label and part presence checks |
| Low-angle ring light | Lights the surface at a shallow angle, creating dark field | Scratches, dents, embossed and engraved text, small defects on flat surfaces |
| Dome | Spreads light from all directions for a shadow-free, glare-free image | Glossy, curved and wrinkled surfaces: foil, metal cans, caps, molded parts |
| Coaxial | Lights along the camera axis through a half mirror | Flat, glossy surfaces: machined metal, glass, mirror surfaces, wafers |
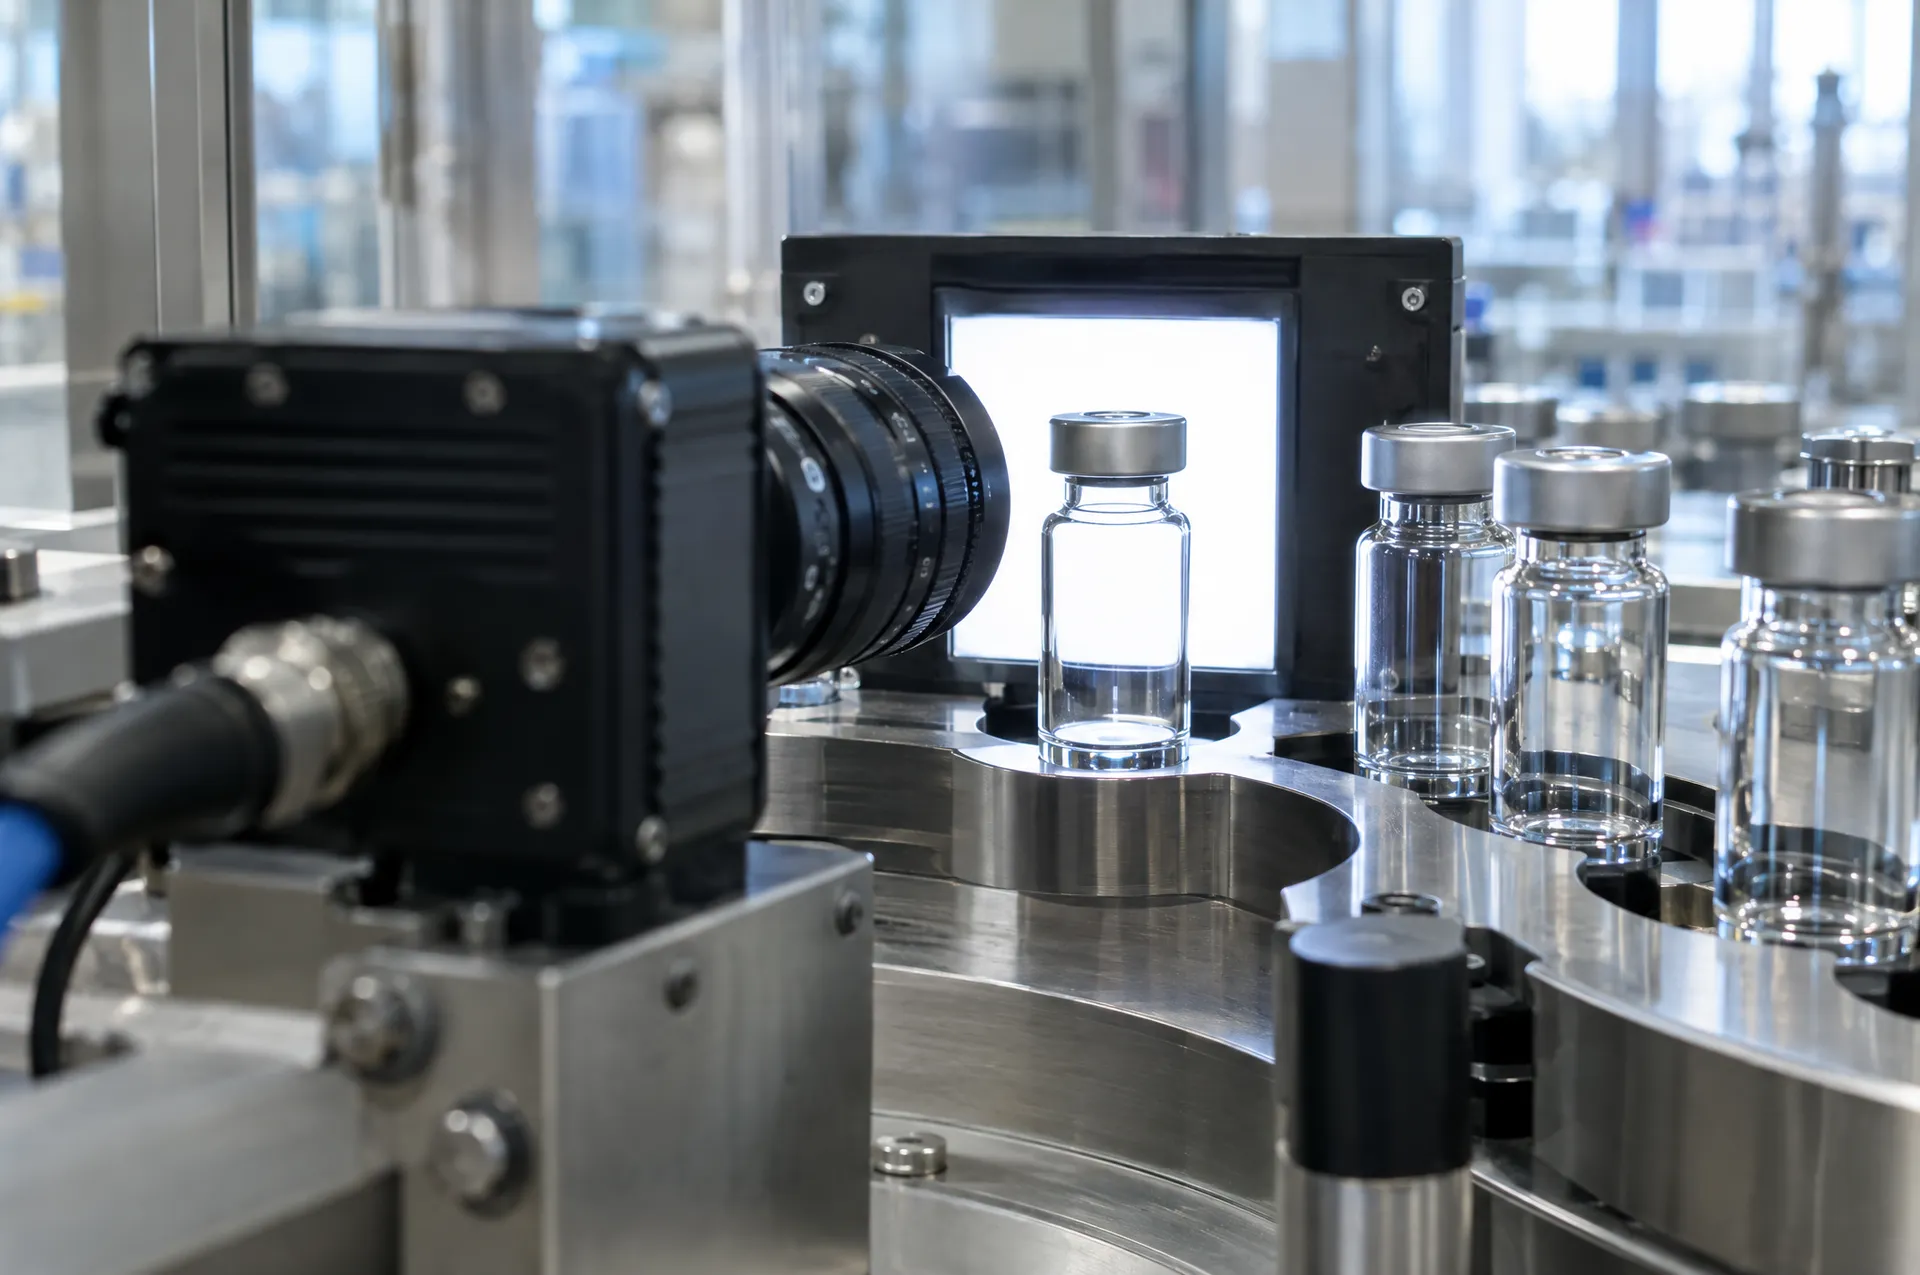
| Backlight | Lights from behind the product to create a sharp silhouette | Contour, dimensions, hole presence, fill level and foreign matter in clear bottles |
| Line light | Produces a narrow, intense band of light | Line scan cameras, continuous materials such as fabric, film and sheet |
| Flat diffuse panel | Wide, even light surface | Large flat products, colour and print checks |
A dome removes glare on glossy surfaces but can also soften very fine scratches. In that case low-angle lighting gives better results. Sometimes two images with two different lighting setups are taken of the same product.
Light colour and wavelength
- Colour contrast: A colour looks light under light of the same colour and dark under the opposite colour. For example, a red mark disappears under red light and darkens under blue light. This is how colour separation can be done with a monochrome camera.
- Infrared (IR): Passes through some inks and coloured plastics. Used to see shape regardless of colour, or to suppress ambient light.
- Ultraviolet (UV): Makes fluorescent marks, adhesives and some coatings visible.
- White light: Needed for colour and shade checks with a colour camera.
Polarisation, strobing and ambient light
- Polarisation: Polarising filters on the light and the lens reduce glare on glossy surfaces. Useful on clear packaging and glossy labels.
- Strobing: The light is on only briefly while the image is captured. It freezes moving products and can be driven much brighter than continuous light.
- Ambient light: Daylight from windows or ceiling lamps changes the image. The station is enclosed, strobe power is increased or a filter matching the light colour is used.
- Stability: LED output can change with temperature and over time. A constant-current driver and regular checks keep the image the same every day.
How to choose lighting
- Define the defect and the surface: Is the defect a scratch, a stain or a missing part? Is the surface matt, glossy, transparent or curved?
- Collect good and defective samples: Samples of the hardest-to-separate defects are the most valuable.
- Try different setups: The same sample is imaged with different lighting types, angles and colours.
- Compare contrast: The setup in which the defect separates most clearly from the good surface is chosen.
- Verify under line conditions: Speed, vibration, variation in product position and ambient light are taken into account.
Conclusion
Much of a machine vision system’s success is decided before an image is captured, in the choice of lighting. The right light makes the defect clear and the normal appearance of the product stable, which means simpler software, fewer false rejects and a more stable system. We cover the camera and lens side in choosing an industrial camera and lens.
You can read our approach to surface inspection on the surface inspection page. Contact us if you would like us to run a lighting test with your samples.