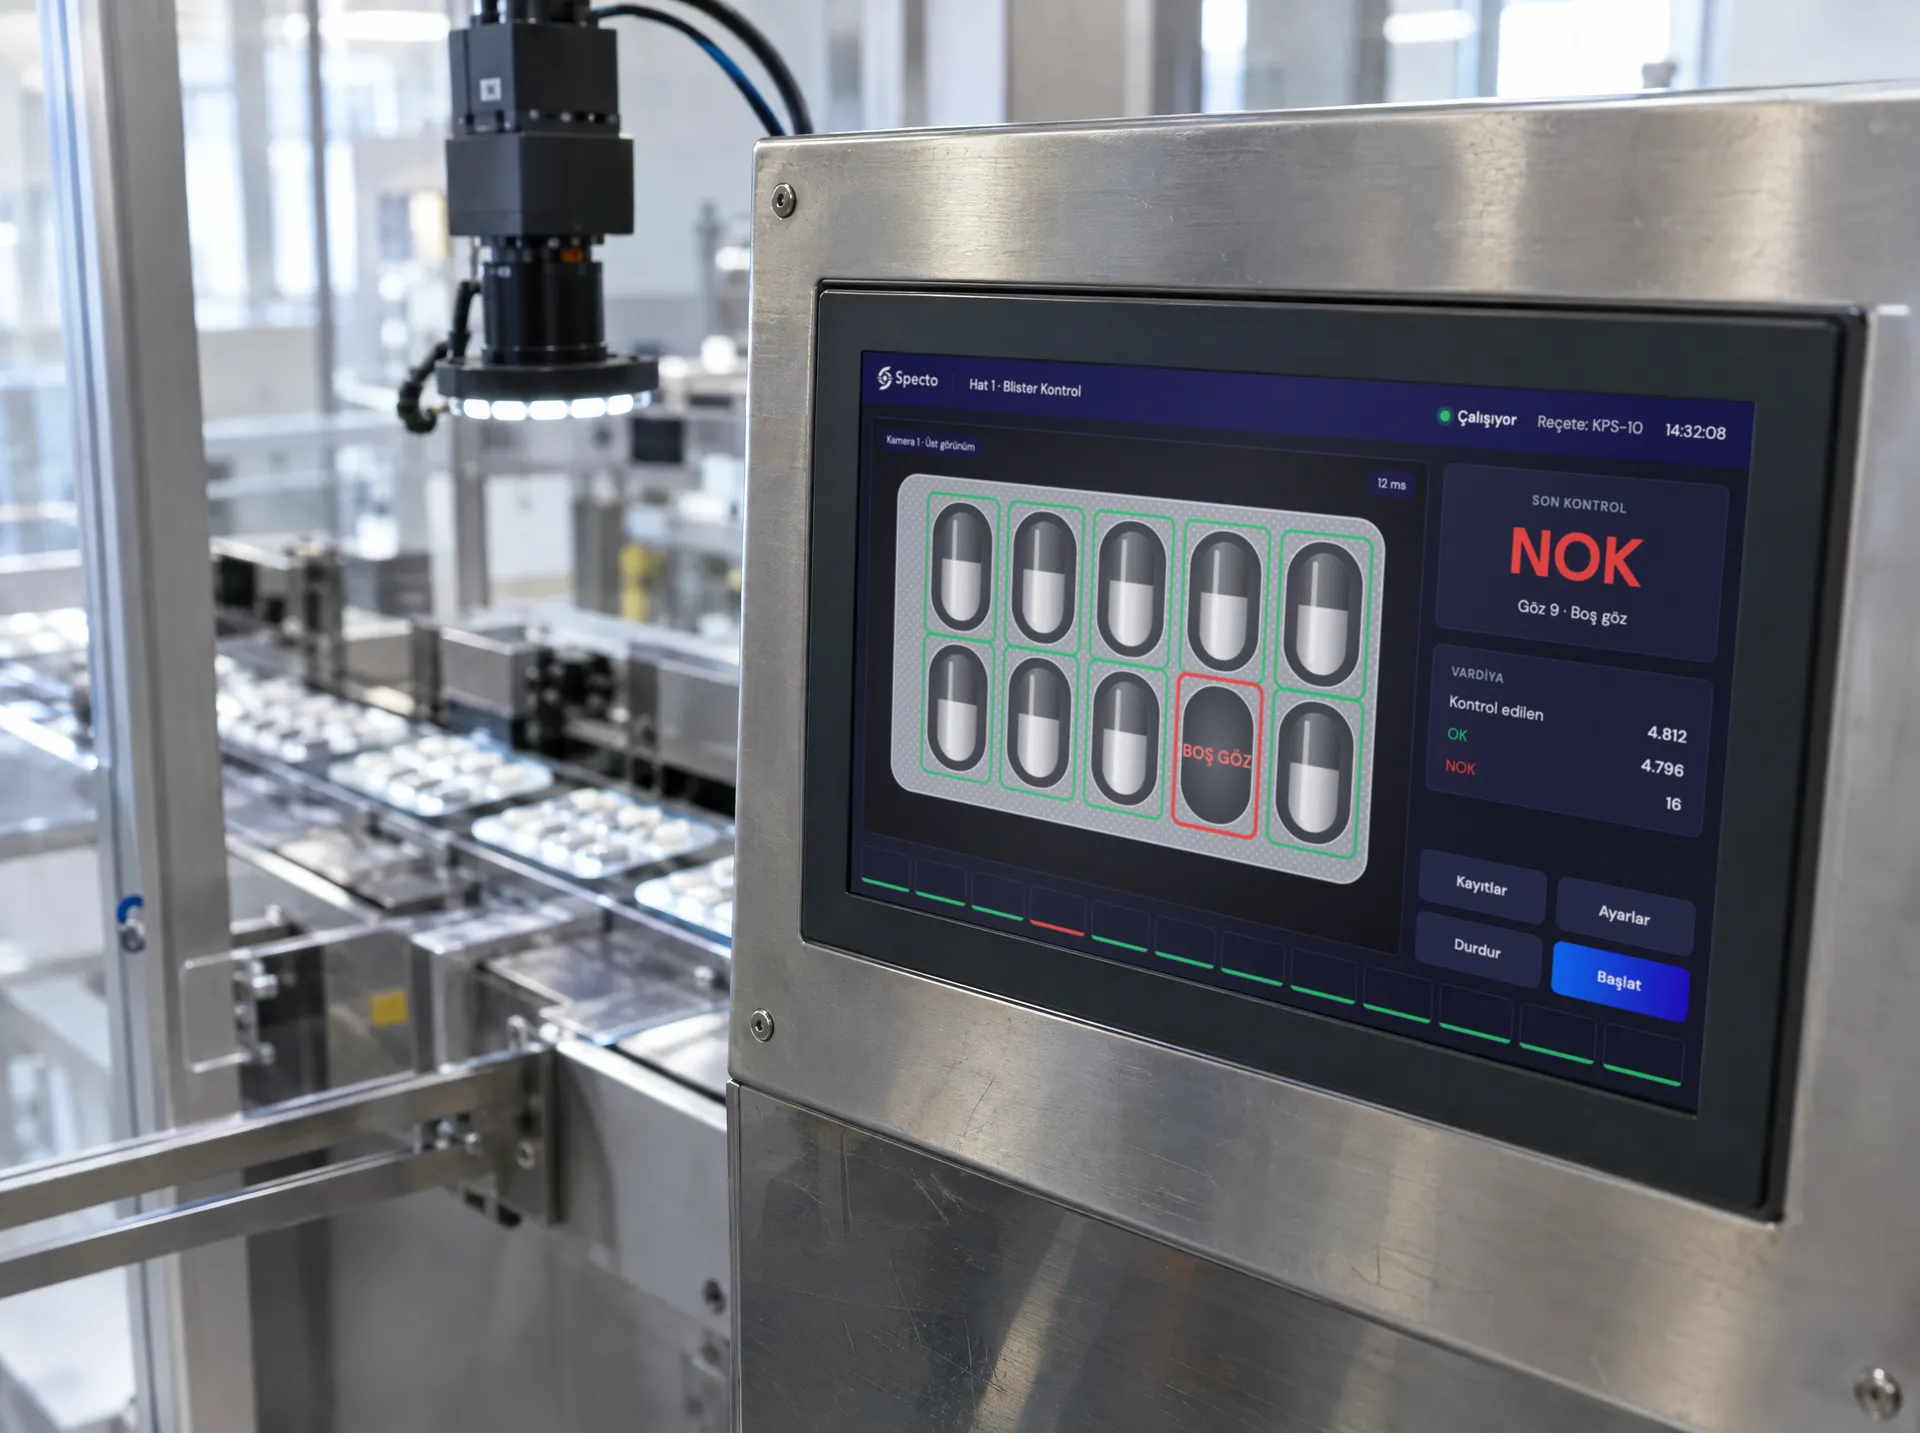
Fill level inspection means measuring the height of the product in a container such as a bottle, vial, jar or canister with a camera after filling, and removing from the line any container that falls outside the defined lower and upper limits. Every container is checked against the same criteria, and the image and reject reason of every decision are recorded. Underfilling can lead to customer complaints and to the declared quantity not being met; overfilling can lead to product loss, cap seating problems and leaks.
We gave an overview of inspection points on packaging lines in visual inspection in pharmaceutical and chemical packaging. This post focuses on fill level only.
Does the camera measure the fill level or the quantity?
The camera measures the level, not the quantity. For the level to say anything about the quantity, the internal volume and shape of the container have to be consistent. In glass bottles, wall thickness and internal volume can vary from container to container; the same level can correspond to a different quantity in different containers.
This distinction also appears in legislation. EU Directive 76/211/EEC, which covers products prepackaged by weight or by volume, requires the actual contents not to be less, on average, than the nominal quantity. It provides for checks by weight or volume using a legal measuring instrument. Directive 75/107/EEC on bottles used as measuring containers describes a special case: bottles whose contents can be measured accurately when they are filled to a specified level or to a specified percentage of their brim capacity. On these bottles, the distance of the filling level from the brim is marked on the bottle in millimetres.
In practice, the camera checks every container at line speed and removes underfilled or overfilled ones. The net quantity is verified by weighing or volume measurement. The camera does not replace that measurement; it complements it.
How is the level seen in clear containers?
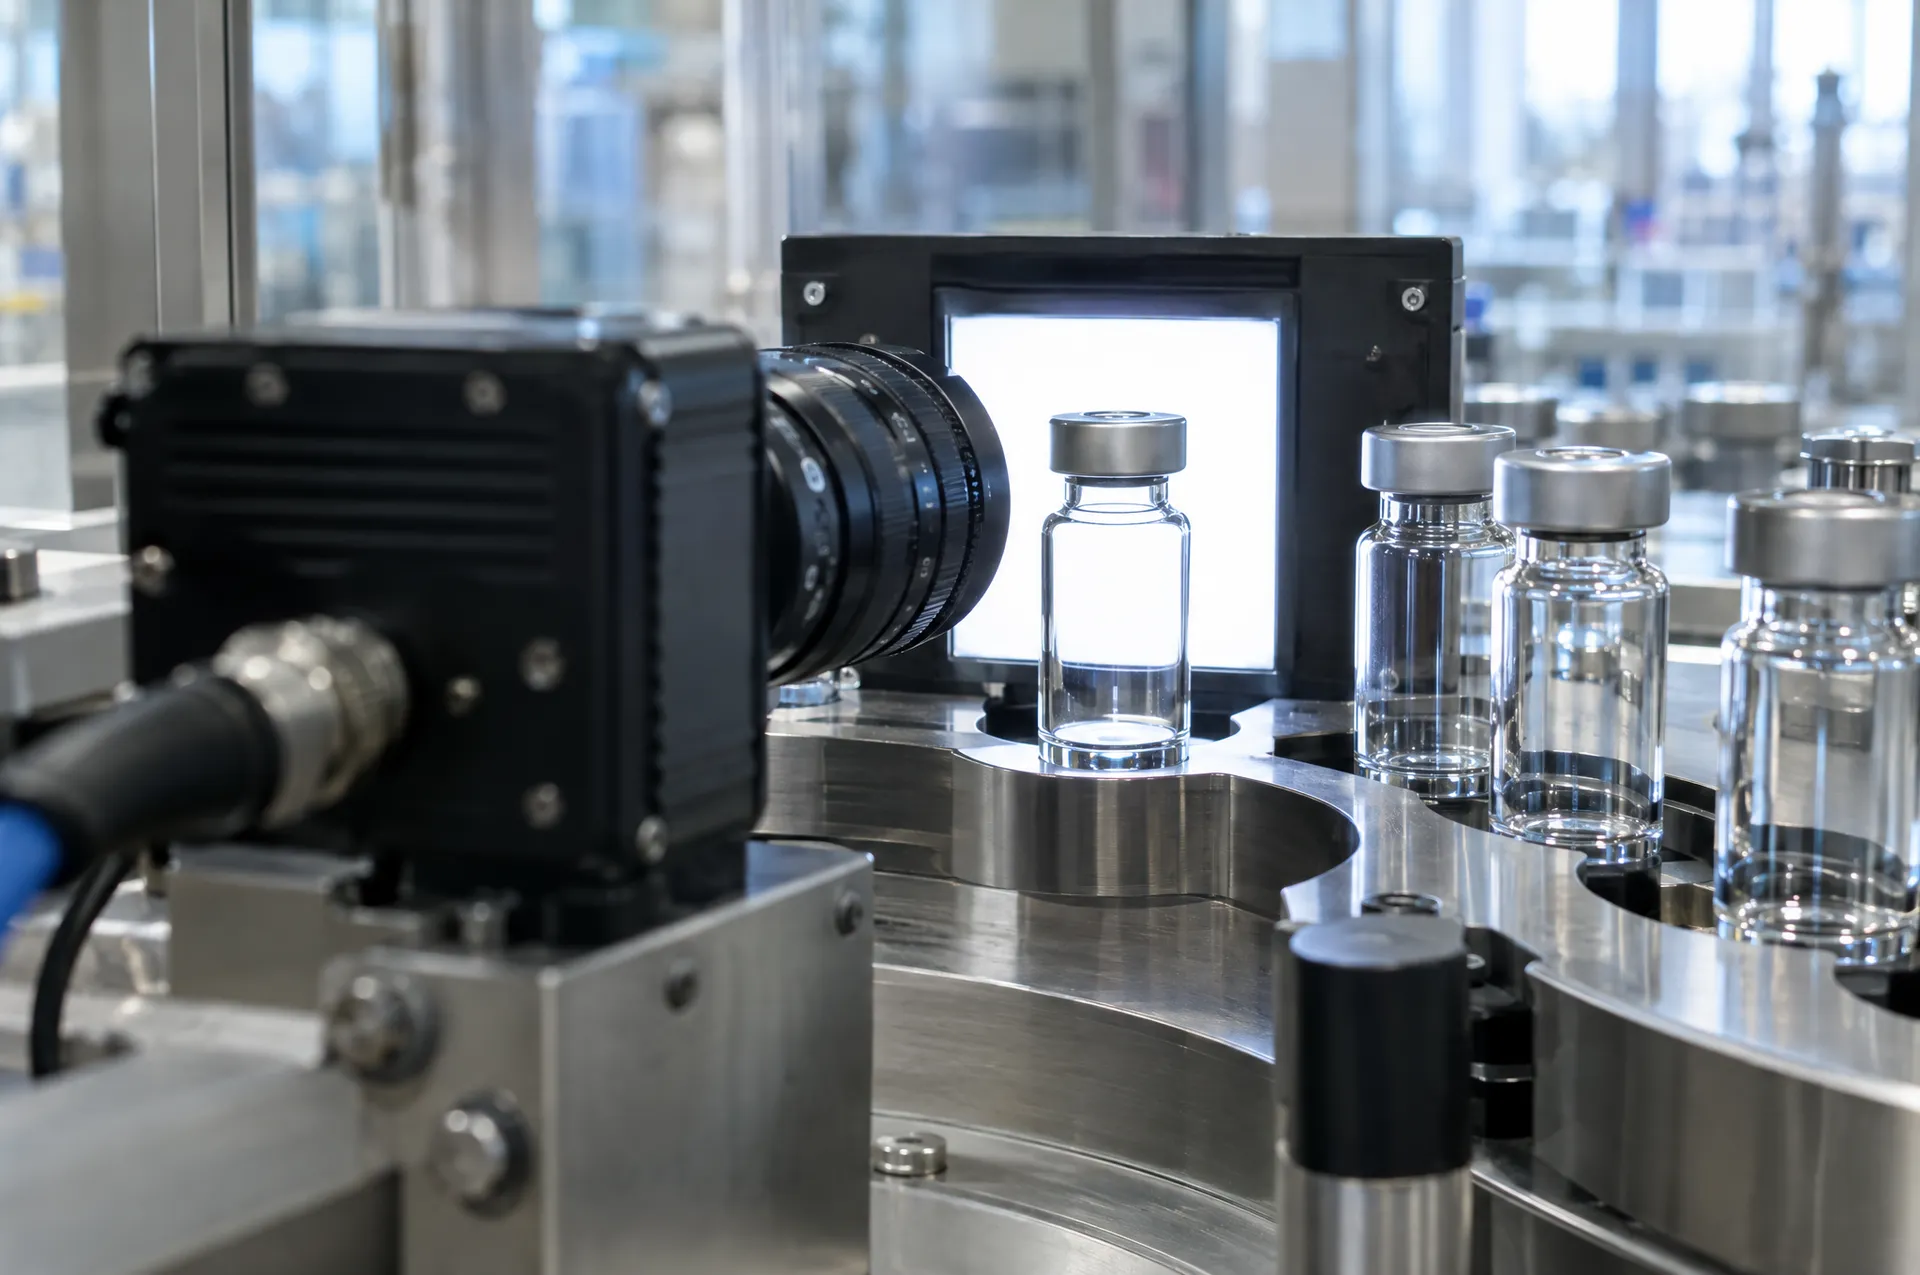
In clear glass or plastic containers, the most common method is backlighting. Light is given from behind the container, and the camera looks from the front. The boundary between liquid and air, the meniscus, appears in the image as a dark, distinct line. The software measures the height of this line relative to a fixed reference on the container, usually the shoulder, the neck ring or the base of the container.
The difficulty depends on the liquid itself:
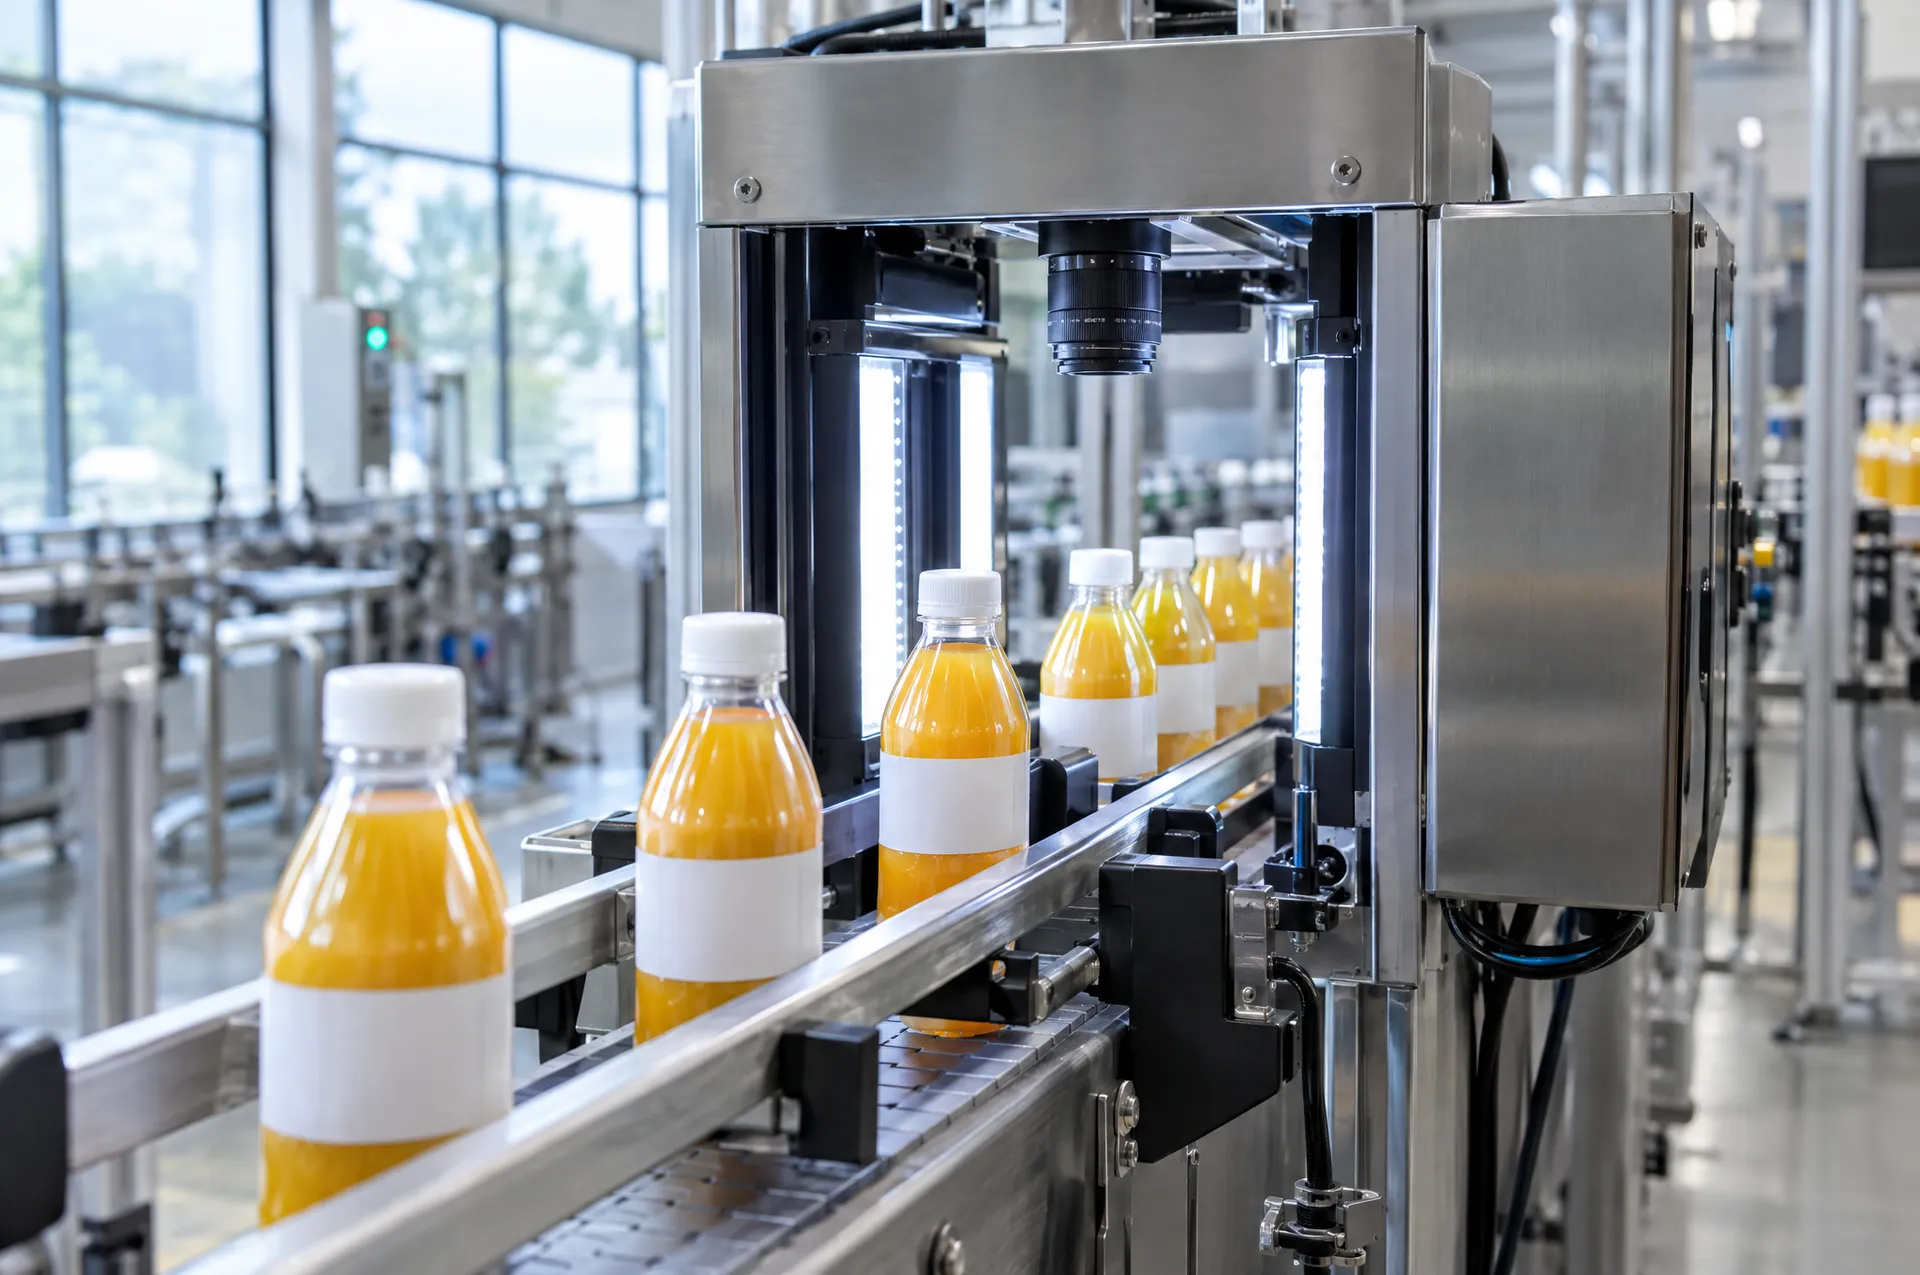
- Coloured or cloudy liquids: With products such as juice, syrup or milk, the contrast between liquid and air is high; the level is found easily.
- Clear liquids: Water and clear solutions absorb little light. Here the light refracted by the meniscus is used; the shape and wavelength of the lighting are selected through tests with samples.
- Coloured or frosted containers: Light is weakened in brown glass or translucent plastic. Stronger lighting or a different wavelength can be tried; if the container is fully opaque, the camera cannot see the level.
The position of the label also matters. If the label covers the level zone, the check is done before labelling. In cold filling, condensation droplets on the outside of the container and bubbles in the liquid can also cause false rejects; the image processing is set up to tell these effects apart. See machine vision lighting for lighting types.
What can be done with opaque containers?
With cans, aluminium bottles, opaque plastic canisters and tubes, the camera cannot see inside the container. The honest answer here is this: once the container is closed, the level cannot be measured with a camera. The options are:
- Looking from above before capping: With products such as wide-mouth jars, bowls and cups, a camera or 3D sensor sees the product surface from above. The surface height is measured; whether the product is spread evenly can also be checked. With narrow-neck bottles this method is often not feasible.
- X-ray: Sees the level through an opaque container, as well as missing product in closed packaging. It requires radiation safety measures and a licence. The methods are compared in manual vs camera-based vs X-ray inspection.
- Weighing: A checkweigher on the line measures the net quantity directly. If tare variation is low, it reliably removes underfilled containers.
These methods are not alternatives to one another. On one line, a camera can check the cap and label while a checkweigher or X-ray checks the quantity.
How is foam handled?
Carbonated drinks, detergents, shampoos and some dairy products foam after filling. In a backlit image, foam appears as a translucent band between the liquid and the air. What the software treats as the level has to be defined from the start: the boundary between liquid and foam, or the top surface of the foam?
Points to watch:
- Location of the inspection point: At a station very close to the filler, foam and sloshing have not yet settled. Where possible, the check is done at a point the container reaches after travelling some distance along the line.
- Foam height can be a separate criterion: On some products, excessive foam is a sign of a problem in the filling machine and is tracked separately.
- Variability: If the shape of the foam varies from container to container, an AI-based model that evaluates the image as a whole can be considered instead of a fixed threshold. The right approach is determined in tests with foamy and foam-free samples.
Conveyor vibration, a tilted container and sloshing at transfer points also affect the level. The image is captured with a sensor signal and a strobe while the container is in front of the camera, so every container is imaged in the same position and under the same light.
Why is fill level inspected together with the cap?
Fill and cap are two connected parts of the same package. Overfilling can make it harder for the cap to seat fully. A container with a missing or skewed cap spills product during transfer and shows up as underfilled at a later point.
That is why, on most lines, level and cap are checked at the same station. A camera looking from the side sees the level as well as the height and tilt of the cap in a single image; a second camera looking from above checks cap presence and colour. We cover the cap side separately in cap and seal inspection.
How are defective containers rejected?
Two limits are defined for each product: a container below the lower limit is rejected as underfilled, and one above the upper limit as overfilled. The limits are set in millimetres according to the tolerance defined by the quality team, taking the shape of the container into account.
Points to watch in practice:
- Tracking: There is a distance between the camera and the rejector. The system tracks the defective container by conveyor speed or encoder signal and gives the reject signal when the container reaches the rejector.
- Fail-safe: If no image is captured, the level cannot be found or no decision is made in time, the container is not accepted as good and is removed.
- Consecutive defects: On rotary fillers, repeated underfilling in containers from the same filling valve indicates a problem with that valve. If valve information can be taken from the machine, results are tracked per valve and the operator is alerted.
- Verifying rejection: At the start of a shift, known underfilled and overfilled test containers are run through the line; both detection and rejection are checked.
What should be prepared before installation?
- Containers: material, colour, shape and whether the level zone is covered by a label
- Products: colour, clarity, tendency to foam and filling temperature
- Acceptance limits: underfill and overfill tolerance
- Line: speed, distance between the filler and the inspection point, existing rejector and PLC
- Samples: correctly filled, underfilled and overfilled containers; foamy samples for foaming products
We describe how these checks are set up across industries on the food and packaging industry page, and measurement-based checks on the measurement and dimensional inspection page. Contact us to assess how fill level can be inspected on your filling line.